If your iPhone takes a blurry night photo but a crisp one in daylight, you’re not doing anything “wrong.” The camera hardware and phone software are fighting different problems at night.
That’s why iPhone camera tech comes down to three ideas: sensor size (how much light the camera can catch), stabilization (how well it handles hand shake), and Night Mode (how the phone combines exposures). Once you understand those, you can get better shots on purpose, not by luck.
iPhone sensor size: the “light bucket” that changes your low-light photos
Sensor size is basically how big the camera’s light-catcher is. A bigger sensor gathers more light per shot, which helps reduce noise (the grainy look) and gives the phone more detail to work with.
In simple terms, a camera sensor is the part that turns light into an image. When it’s short on light, it has to boost the signal. That’s where you see more noise and less color accuracy.
Here’s the part people miss: sensor size isn’t the only thing that matters. Pixel size matters too. If two phones use different sensor sizes but one has much bigger pixels, it can look better in the dark. Also, the lens quality and internal processing matter a lot.
What “sensor size” means on iPhone (and what it doesn’t)
On most iPhone spec sheets, you’ll see sensor details like “1/1.2-inch” or “1.9 µm pixels.” Sensor size is often shown using a fraction-inch format. That number is not the actual physical measurement you’d tape with a ruler, but it’s a standard way camera makers compare size.
What it doesn’t mean: that a bigger sensor always wins in every shot. If the scene is bright, most sensors can do fine. The differences show up more when light drops and you’re relying on low noise and better signal.
Quick test you can do tonight: compare two lenses
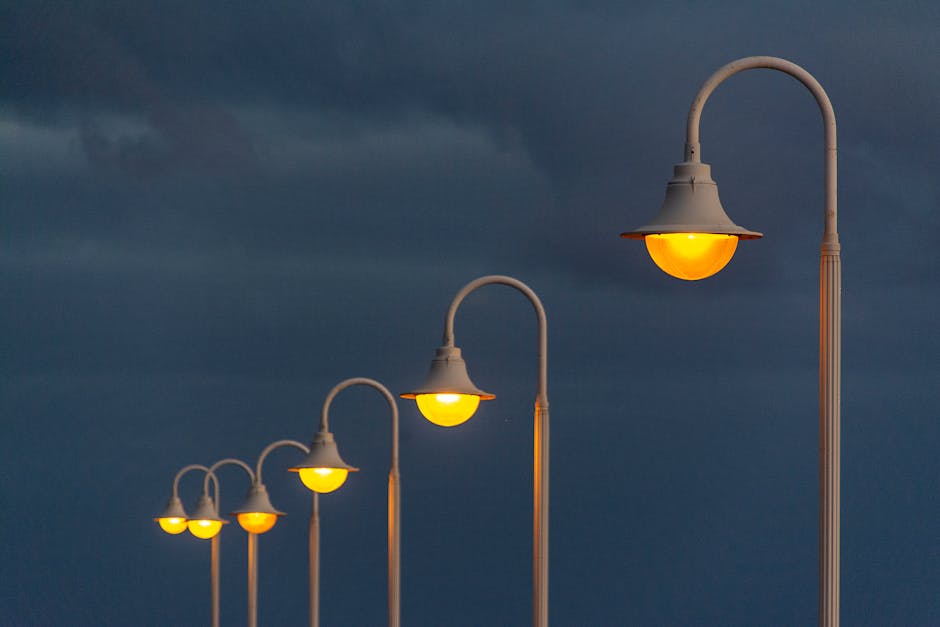
If you have an iPhone with multiple cameras (like a wide and ultrawide), test sensor size impact with a simple night scene. Pick a spot with a few lights—street lamps are perfect. Take two photos of the same thing from the same distance.
- Turn on Night Mode (when available) for both shots.
- Keep the phone still until the timer finishes.
- Zoom in and look at shadows around the brightest lights.
You’ll usually see one camera handles dark areas and glare better. That difference is partly sensor size and partly lens and processing.
Stabilization on iPhone: what it fixes (and what it can’t)
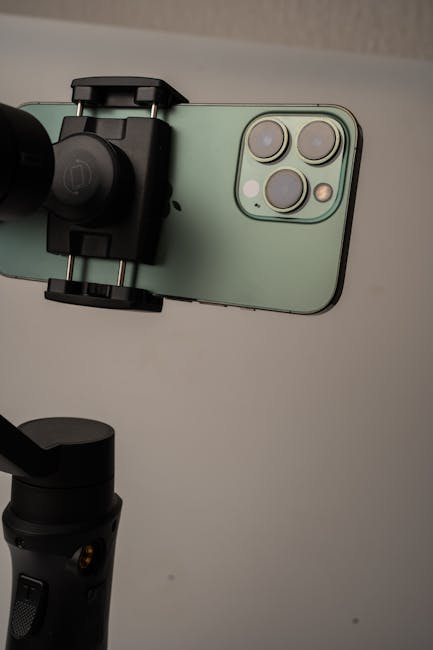
Stabilization helps with one main problem: motion blur from hand shake. It does not stop blur from moving subjects like a running dog, a kid moving in a crowd, or cars in motion.
That distinction matters because people blame “bad Night Mode” when the real issue is subject movement. Stabilization keeps the phone steady, but it can’t freeze a world that’s moving.
On iPhones, you’ll commonly hear about optical image stabilization (OIS) and sensor-shift methods (depending on model). Optical stabilization uses moving elements inside the lens or system to counteract shake. Sensor-shift stabilization shifts the sensor itself to keep the image aligned.
Optical vs digital stabilization: why the difference matters
Optical (or physical) stabilization helps at the capture stage, so your raw image is sharper before software does anything. Digital stabilization mainly crops and warps the image after the fact.
Digital stabilization can still look fine for casual shots, but it won’t save a badly blurred frame as well as optical methods.
How to tell if you need stabilization or a different shutter strategy
Here’s the practical way I check this in real life. If the photo looks blurry everywhere (even bright areas), you probably had shake. If the edges and fine details smear, shake is also likely. If the background is sharp but a person looks smeared, that’s subject motion.
For shake: stabilize your stance, use a surface when possible, and let Night Mode finish. For subject motion: use a shorter exposure strategy (sometimes by switching out of Night Mode if the phone allows it) or move closer so the phone needs less time.
Night Mode: the software trick that turns darkness into usable detail
Night Mode is a set of camera settings where iPhone takes multiple images and combines them to make a brighter photo with less noise. It’s not just “longer exposure.” It’s also about how the phone lines up frames and chooses how long to shoot.
Night Mode refers to computational photography: the phone uses its sensors plus processing to stack exposures. The goal is better signal-to-noise and better detail in shadows.
As of 2026, the key behaviors stay consistent: Night Mode usually shows a moon icon, a time slider, and guidance like “Keep your iPhone still.” The phone chooses the time based on light levels and motion.
Why Night Mode needs you to hold still (and how long that really is)
Night Mode exposures can range from a couple seconds to much longer. The app shows the time, so trust the display. In my experience, if the slider says 1–2 seconds and your hands shake, you still risk blur. If it says 5–8 seconds, you need a steady grip or a surface.
A small trick that helps: use both hands, press your elbows into your ribs, and keep breathing steady. If you have time, rest the phone on a wall or railing.
Night Mode vs “no Night Mode” in one common scenario
Picture a restaurant table with candles and dim overhead lights. If you shoot without Night Mode, the phone often has to raise ISO (brightness gain) a lot. That causes grain and duller colors.
With Night Mode, the phone takes extra frames and blends them. Candles keep their warm look, and faces often show more detail. If you’re photographing a moving person, you’ll still need to adjust—Night Mode can make motion blur more obvious because it may use longer capture times.
What people get wrong about iPhone camera tech (and how to fix it)
The biggest mistake is treating camera settings like a magic switch. Sensor size, stabilization, and Night Mode all work together, and they have limits.
“More Night Mode time always looks better” — not true
Longer doesn’t always mean better. If your subject is moving or you can’t hold the phone steady, longer Night Mode time can cause smeared edges. Sometimes a shorter Night Mode time looks cleaner because details are less blurred.
Try this: if the moon icon gives you a long time, reduce it slightly when the scene has movement. Then take two shots and compare hair edges, text on signs, and the outline of faces.
“Stabilization means my subject won’t blur” — also not true
Stabilization mostly fights your shake, not their motion. If you’re photographing kids, pets, or bike riders, you need to lower your expectations for Night Mode sharpness unless the subject is mostly still.
In those situations, I switch my strategy: I shoot closer, aim for better lighting, or step into a brighter area so the phone can use less exposure time.
“Ultrawide is always worse” — it depends on the scene
Ultrawide lenses can look great at night because they capture more context. But they often have smaller sensors or different optics, so they may show more noise in deep shadows.
What I do: for night cityscapes with street lights, ultrawide is often worth it. For portraits in a dim room, I prefer the main wide camera because it usually gives nicer skin tones and more subject separation.
Best practices: how to get sharper photos using sensor size, stabilization, and Night Mode
If you want results fast, use a small routine. It sounds boring, but it works because it matches how iPhone camera tech is built.
My “night shot” checklist (takes 20 seconds)
- Pick your camera: use the main wide for portraits, ultrawide for scenes.
- Turn on Night Mode: tap the moon icon or use Auto Night Mode.
- Lock your stance: elbows in, hold steady, avoid leaning over.
- Use a surface if you can: wall, table edge, or a railing.
- Watch the subject: if they’re moving, lower Night Mode time or improve the lighting.
- After it shoots: don’t move until the timer finishes and the phone saves the image.
Use lighting like it’s part of the camera
This is the “real-world” insight that beats most specs. If you stand under a street lamp or near a lit window, your phone doesn’t have to work as hard. That means less time in Night Mode and cleaner shadows.
If you’re indoors, try turning on one extra lamp or switching to a brighter bulb. It’s not as cool as gear shopping, but it usually gets you the biggest jump in photo quality.
People Also Ask: iPhone camera tech questions answered
Is sensor size more important than Night Mode on an iPhone?
Sensor size is usually more important for the darkest scenes. Night Mode helps a lot, but it still relies on what the sensor can capture. If the sensor is smaller or the lens collects less light, Night Mode can only do so much before noise and motion blur creep in.
Does optical stabilization improve Night Mode photos?
Yes, stabilization helps Night Mode because Night Mode often uses longer capture times. When you reduce shake, the phone can line up frames more accurately during stacking, which leads to sharper edges and less smearing.
That said, subject motion is the main thing stabilization won’t solve.
Should you use Night Mode for moving subjects?
For fast-moving subjects, Night Mode is a risky choice. The longer capture time can make motion trails. For slightly moving subjects—like someone walking slowly—try lowering the Night Mode time or step closer so the phone can shorten the exposure.
If your iPhone offers a way to switch modes quickly, use that and take a test shot.
Why do night photos look good in the preview but worse after?
This happens sometimes because the preview is processed quickly, but the final image can take more time to process. It can also relate to how you hold the phone during the final capture. If your hands moved at the end, the preview won’t reflect the blur you introduced.
Always wait for the final capture to complete before moving.
Quick comparison: where each part matters most
Here’s a practical way to map iPhone camera tech to your real problem. Use this like a cheat sheet when you’re frustrated with results.
| Photo problem | Likely cause | What to do |
|---|---|---|
| Grainy night sky | Low light + high noise | Use Night Mode, stand still, add a bit more light |
| Everything looks smeared | Hand shake during capture | Use stabilization support (surface), lower Night Mode time |
| Background sharp, person blurry | Subject movement | Improve lighting, step closer, avoid long Night Mode times |
| Bright lights have weird halos | Lens flare + overexposure | Change angle, tap to focus on a darker area |
| Shadows look muddy | Not enough detail captured | Use Night Mode and avoid underexposing |
About iPhone camera tech and security: why privacy still matters
Camera settings are easy to tweak, but privacy settings matter just as much. When you take photos at night—street signs, home windows, Wi‑Fi screens—you might capture things you didn’t mean to share.
If you’re curious about protecting yourself, check out our guide on camera privacy settings and safe photo sharing and our cybersecurity post on how to spot phishing links on your phone. It’s not camera tech, but it’s the stuff that keeps people safe after they upload.
Conclusion: use iPhone camera tech like a tool, not a mystery
Sensor size tells you how much light the camera can catch. Stabilization helps prevent blur from your own hand shake. Night Mode is the phone’s way of stacking and processing multiple frames to brighten the scene.
Actionable takeaway: next time you shoot at night, don’t just turn Night Mode on and hope. Pick the right lens, hold steady long enough for the timer to finish, and if your subject is moving, reduce the Night Mode time or add more light. That’s how you get consistently sharp photos in 2026—not by guessing which setting to tap.
Featured image alt text: iPhone camera tech explained—sensor size, stabilization, and Night Mode producing a sharp night photo
About the Author